Apologies for the silence over the past couple of weeks – I’ve been taking some time off this month to celebrate mine and Katie’s 31st birthdays, and as such I just haven’t had the time to get in the kitchen.
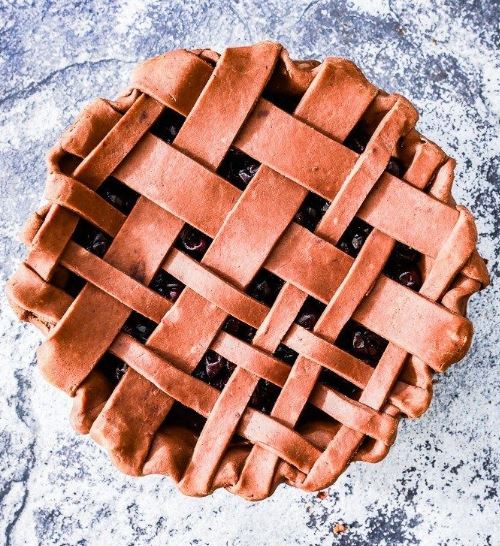
But never fear – I’ve managed to tear myself away from binge-watching The Umbrella Academy for long enough to share my new Chocolate Cherry Pie with you at last.

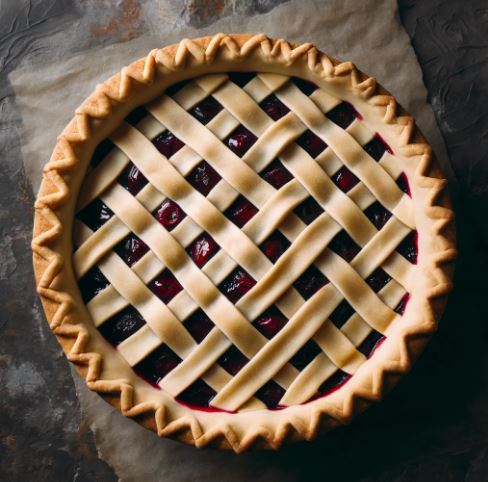
What is it about unbaked pies that look so much prettier than their baked counterparts? You’ve always got to be prepared for your intricate pastry designs to get a little bit less beautiful after half an hour in the oven, which is why I always try and keep things relatively simple. A lattice pattern is always a good idea, as you’re not going to need any special cutters or a really steady hand.

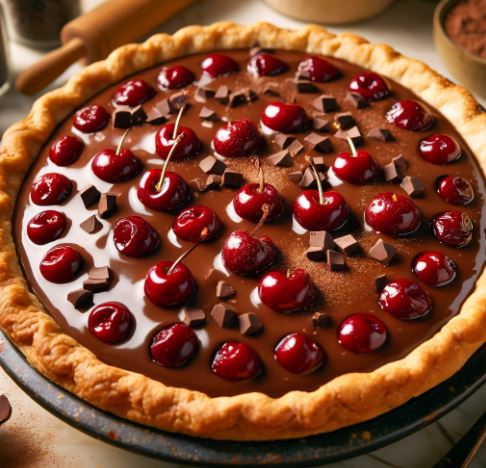
I used frozen cherries for the filling in this chocolate cherry pie, because they’re cheaper and easier to keep around than fresh ones. If you’re going to do the same, then make sure to defrost the cherries completely before using them, as otherwise you’re going to end up with a load of excess water in there that’s going to make everything a little bit soggy.
To add some more chocolate to the mix, there’s cocoa powder and chocolate chips in the filling as well, although the chocolate chips can be omitted if you like.

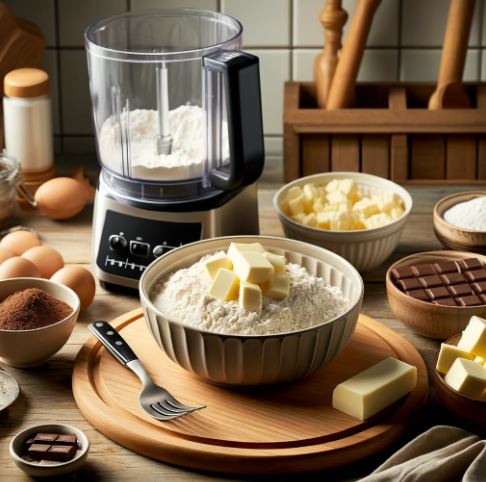
The chocolate pastry is easy to make, and even easier if you have a food processor. If you don’t, then I use a pastry blender to cut the butter into the flour, or you can just use two forks if you don’t make pastry often. The most important thing is to keep the butter cold to help get the pastry nice and flaky, so avoid getting your hands in the bowl if you can.

Chocolate Cherry Pie
An easy homemade chocolate pastry crust, filled with a chocolate cherry filling. The best chocolate cherry pie you’ll ever taste!
PREP TIME: 1 hr
COOK TIME: 30 mins
RESTING TIME: 6 hrs
TOTAL TIME: 7 hrs 30 mins
COURSE: Dessert
CUISINE: American
SERVINGS: 8 People
| INGREDIENTS | INSTRUCTIONS |
| For the chocolate pastry crust 1. 310 g plain or all-purpose flour 2. 3 tablespoons cocoa powder 3. 2 tablespoons caster sugar (US granulated sugar) 4. 1 teaspoon salt 5. 115 g cold unsalted butter 6. 95 g cold vegetable shortening I used Trex 7. 120 ml cold water | For the chocolate pastry 1. In a large bowl, mix together the flour, cocoa powder, sugar, and salt until well combined. Cut the cold butter and cold vegetable shortening into cubes and add to the bowl. Using a pastry blender, a food mixer, or just two forks, cut the butter and shortening into the mixture. You want there to be little pea-sized lumps of butter visible – you definitely don’t want the butter to be completely incorporated into the flour. 2. Add the cold water to the bowl a little at a time, mixing between each addition. You might not need to use all the water, so don’t pour it all in at once! 3. Once a dough starts to form, turn it out onto a lightly floured surface and knead slightly (don’t overwork the dough). Cut the dough into two evenly sized pieces and pat each piece down into a disc-shape. Wrap each disc with clingfilm or plastic wrap, and leave to chill in the fridge for at least an hour. |
| For the chocolate cherry filling 1. 700 g fresh or frozen sweet dark cherries thaw out frozen cherries before using 2. 135 g caster sugar (US granulated sugar) 3. 25 g cornflour or cornstarch 4. 1 tablespoon cocoa powder 5. 1 tablespoon lemon juice 6. 1 teaspoon vanilla extract 7. ⅛ teaspoon almond extract 8. 50 g dark or semi-sweet chocolate chips 9. 1 beaten egg | For the chocolate cherry filling 1. If you are using frozen cherries then ensure that you have defrosted them before using, as otherwise there will be too much liquid in the filling and it won’t set properly. Pour away all the liquid from the defrosted cherries before beginning. 2. If you are using fresh cherries, remove the stones from the middle of each cherry before beginning. I find a cherry pitter the best way to do this! 3. In a large bowl, place the cherries, sugar, cornflour, cocoa powder, lemon juice, vanilla extract, and almond extract. Mix together until completely combined, and then place in the fridge for at least half an hour, or whilst the dough is chilling. |
| To assemble the pie | 1. Preheat the oven to 200°C / 390°F (180°C fan). Remove one of the pastry discs from the fridge and roll out on a lightly floured surface (you can also use cocoa powder instead of flour if you like). You want the pastry to be big enough to fill a 9 inch pie dish (mine is about 2 inches deep). 2. Carefully place the pastry into the pie dish, tucking it into all the edges with your fingers. Crimp the edges of the pastry with your fingers to help stop the pastry from shrinking in the oven. Don’t stretch the pastry, as otherwise it will un-stretch again in the oven! 3. Spoon the chocolate cherry filling into the pastry case. Try to avoid adding in the extra juices at the bottom of the bowl – just pour these away. Sprinkle the top of the cherries with the chocolate chips, and then gently mix together (without damaging the pastry!). 4. Take the second disc of pastry out of the fridge and roll out as before. Cut out shapes or strips of pastry to decorate the top of the pie. I went for a lattice effect Once you have covered your pie, brush the pastry with beaten egg to help give it that nice sheen once baked. 5. Bake the pie for 20 minutes at the current temperature, and then reduce to 190°C / 375°F (170°C fan) for a further 30 to 35 minutes. After the first 20 minutes I also like to very gently cover the top of the pie with aluminium foil to stop the pastry browning too quickly – tear a little hole in the middle of the foil to let the steam out. Or you can use a pie shield if you have one. 6. Once the pie has finished baking, leave to cool on a wire rack for at least an hour to let the filling set. Either serve warm immediately with ice cream, or leave to cool completely, cover with clingfilm or plastic wrap, and store in the fridge for a day or two. The pie can be reheated at 180°C / 350°F (160°C fan) for 20 minutes or so if wanted. |

